 CodeZero
Quick - Setting up your project
Before building your automation workflows, let's get your project environment configured properly. Setting up your runtime environments and personalizing your project path takes just a few quick steps.
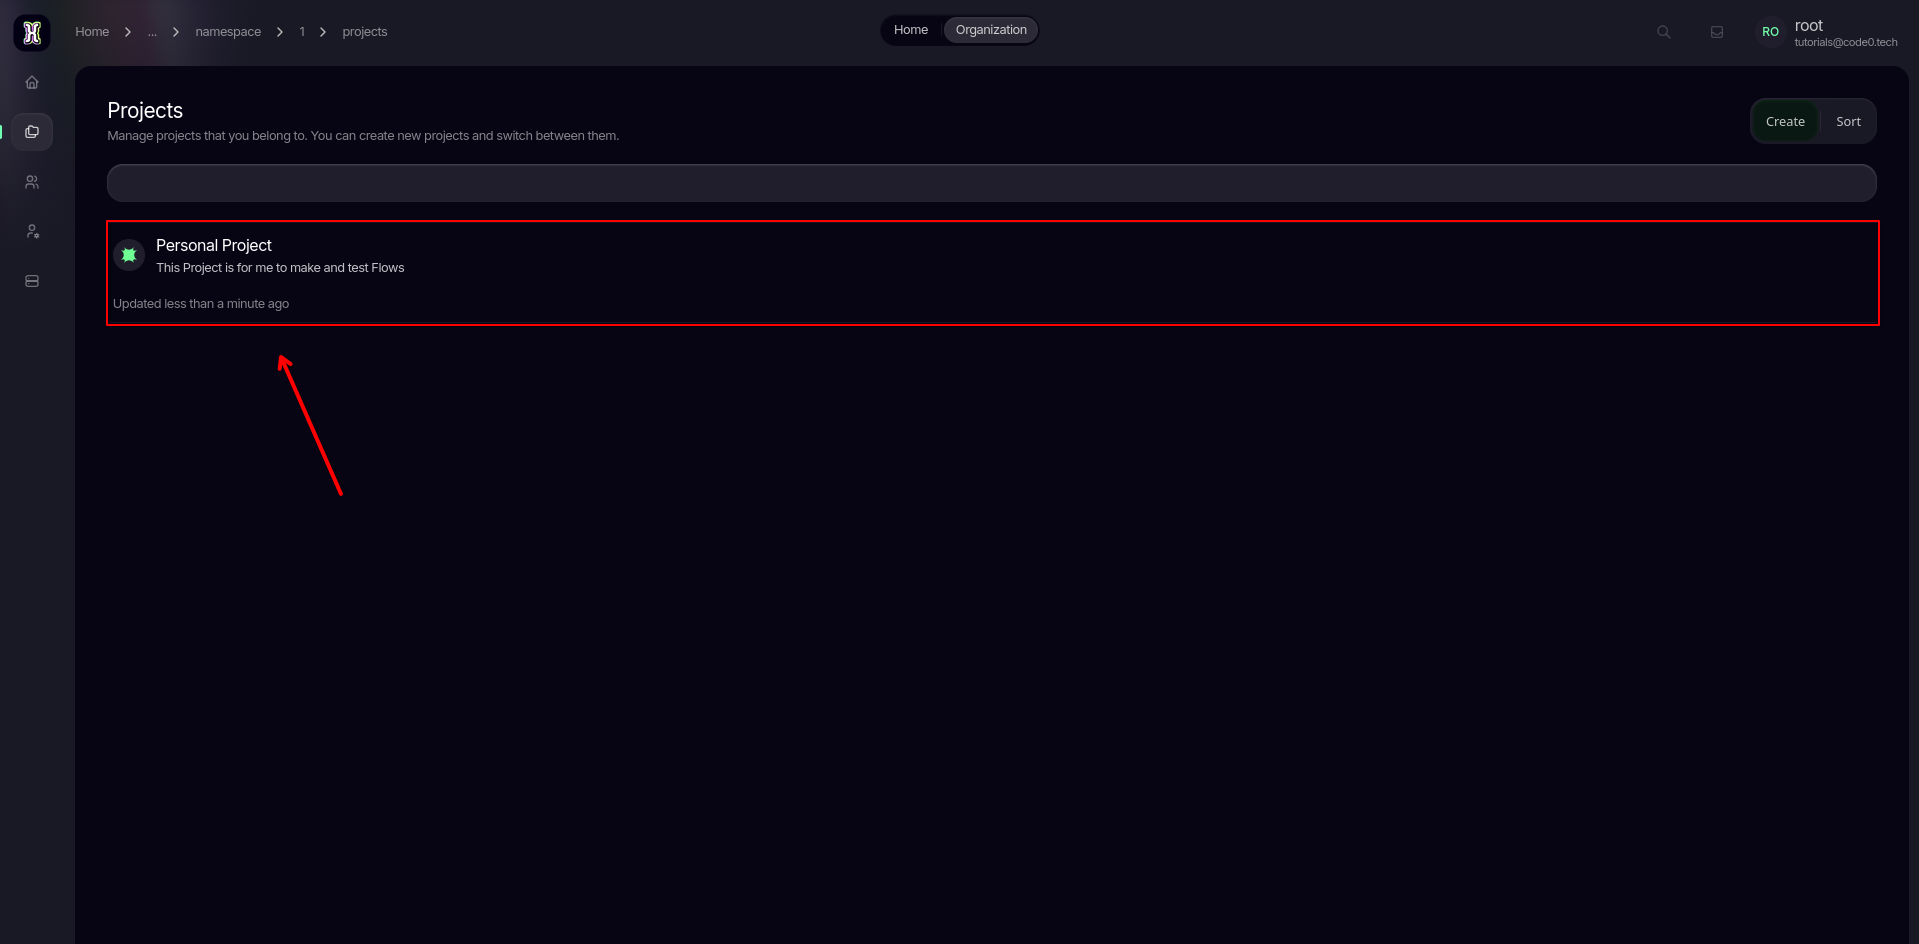
Select your project
From your main dashboard, navigate to and select the specific project you want to configure.
Connect a runtime environment
Head over to the sidebar menu and select the Runtime tab.
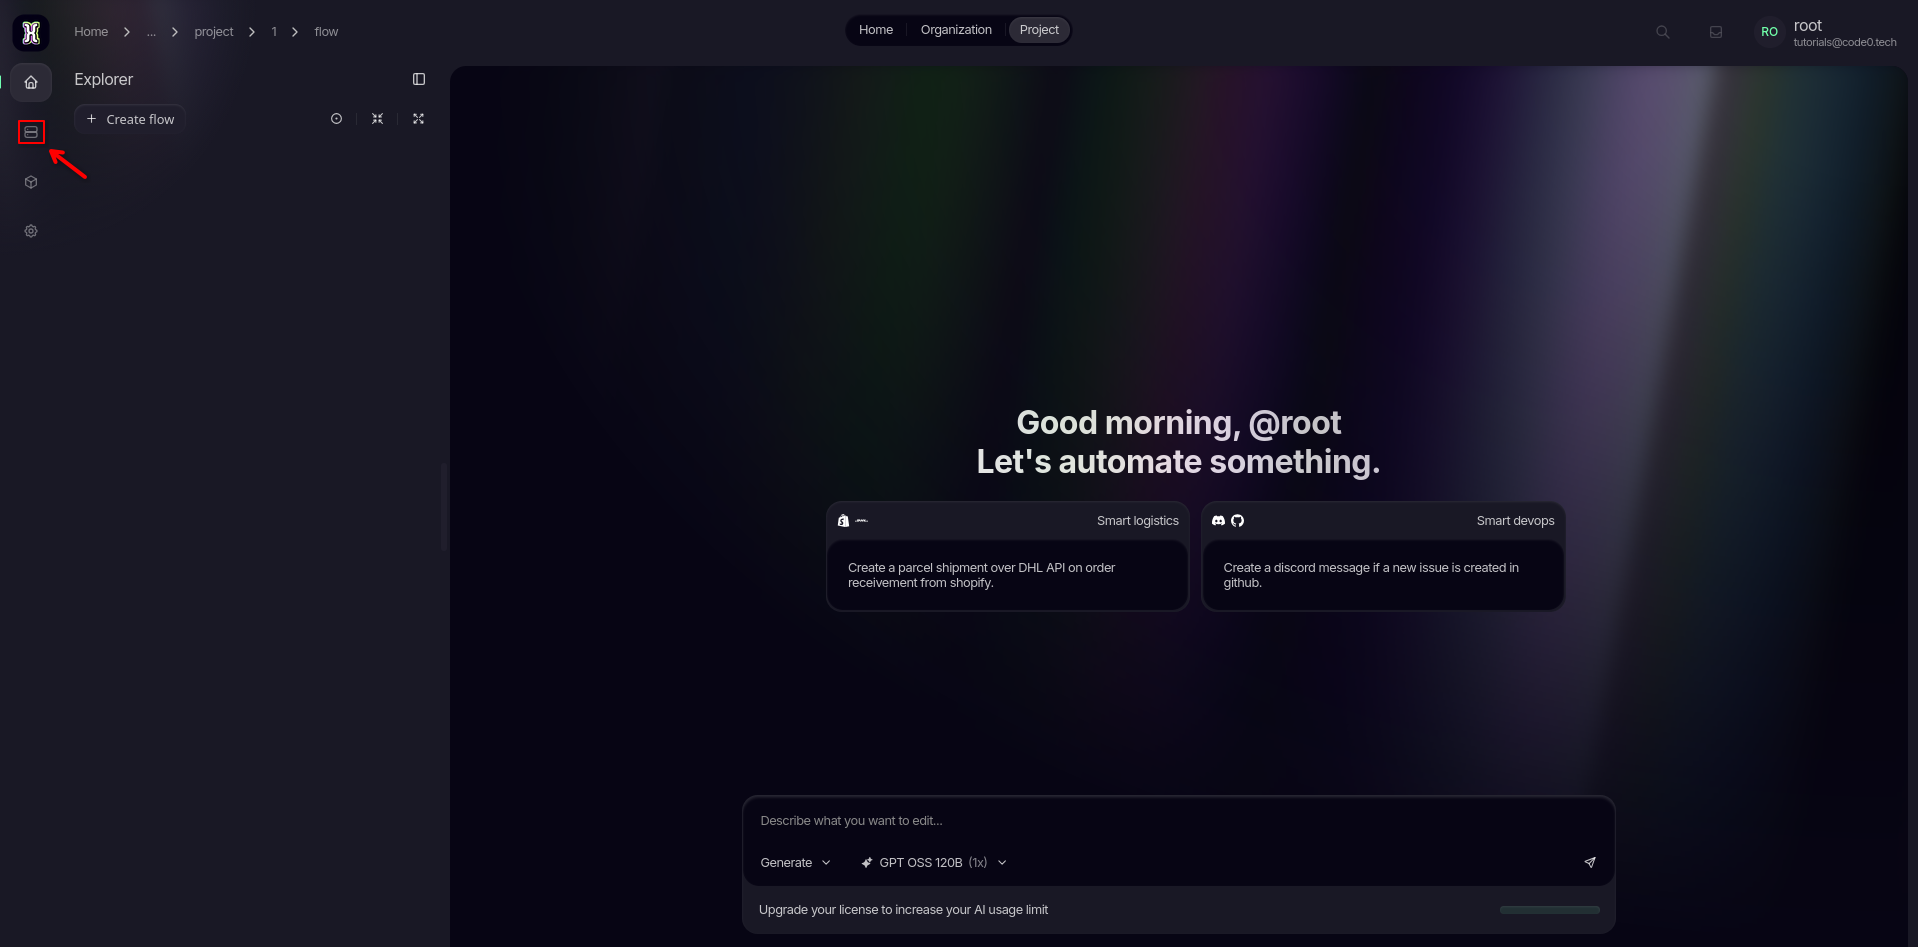
Click the add button to attach your preferred execution environment to this project. This gives your flows the computing engine they need to run successfully.
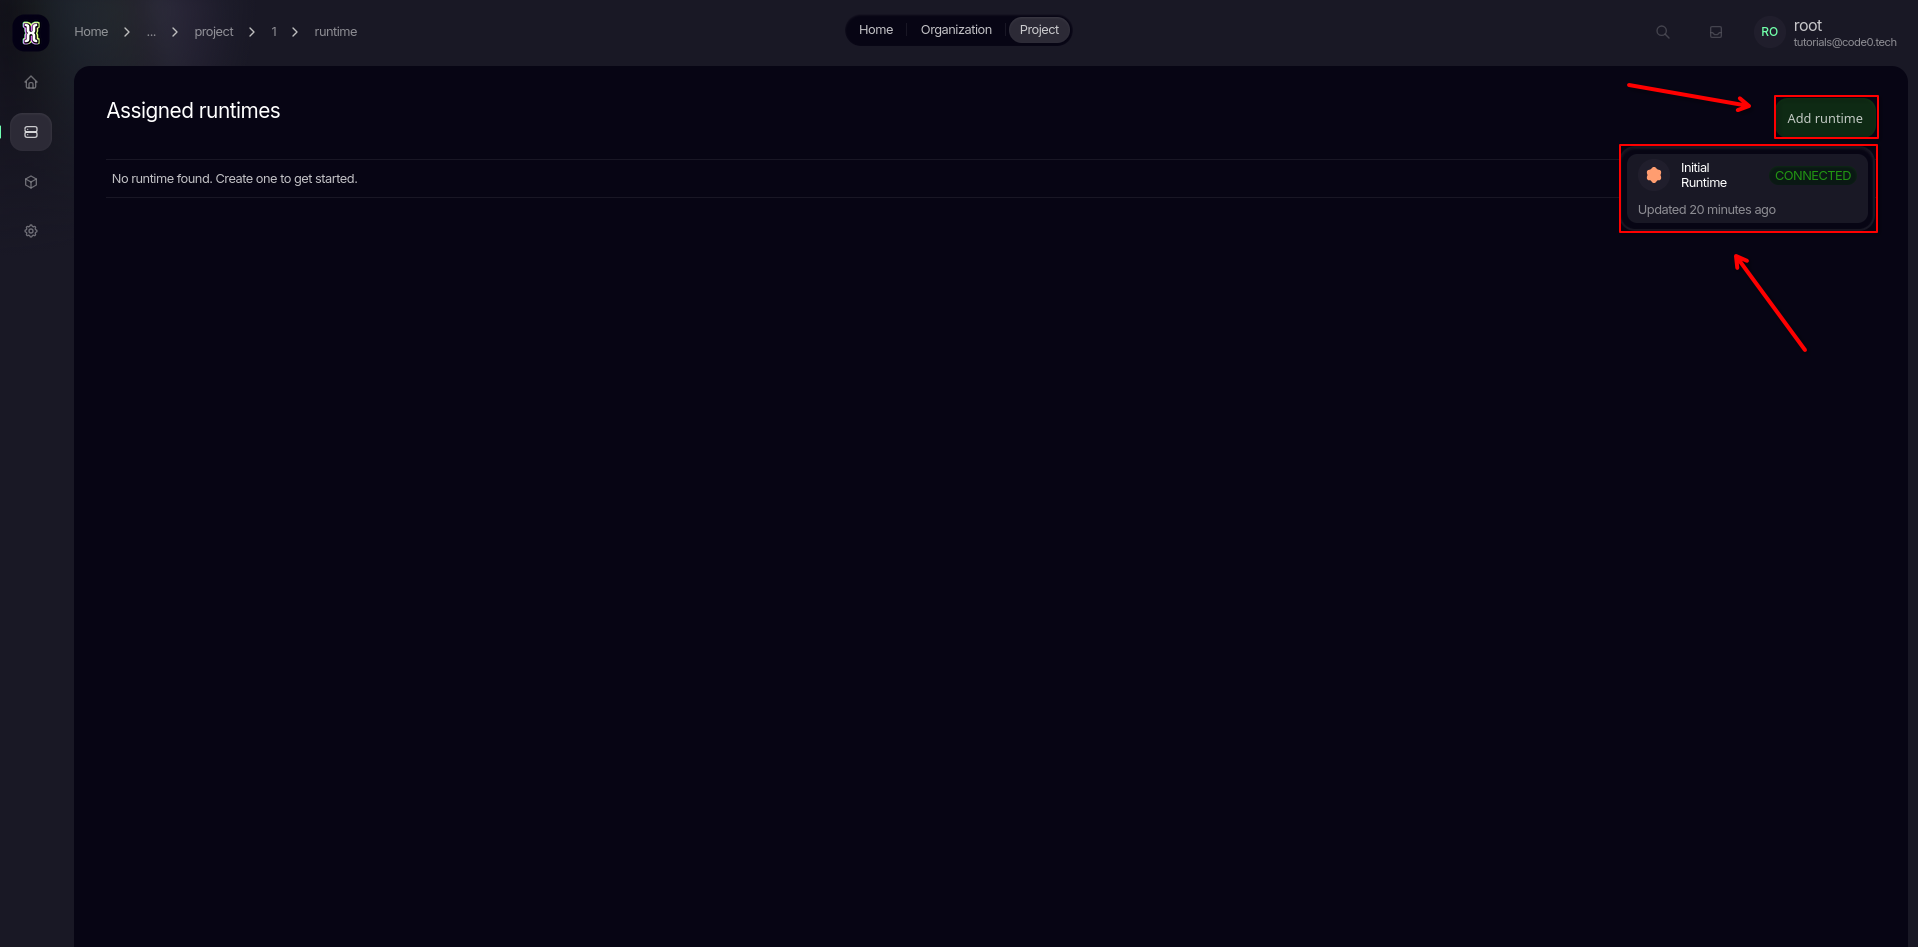
Customize your project settings
Next, open up the Project Settings panel from the lower section of the sidebar navigation.
Update the slug text field to define your preferred URL routing prefix. While you are here, feel free to update the project name and description to keep your workspace well-organized.
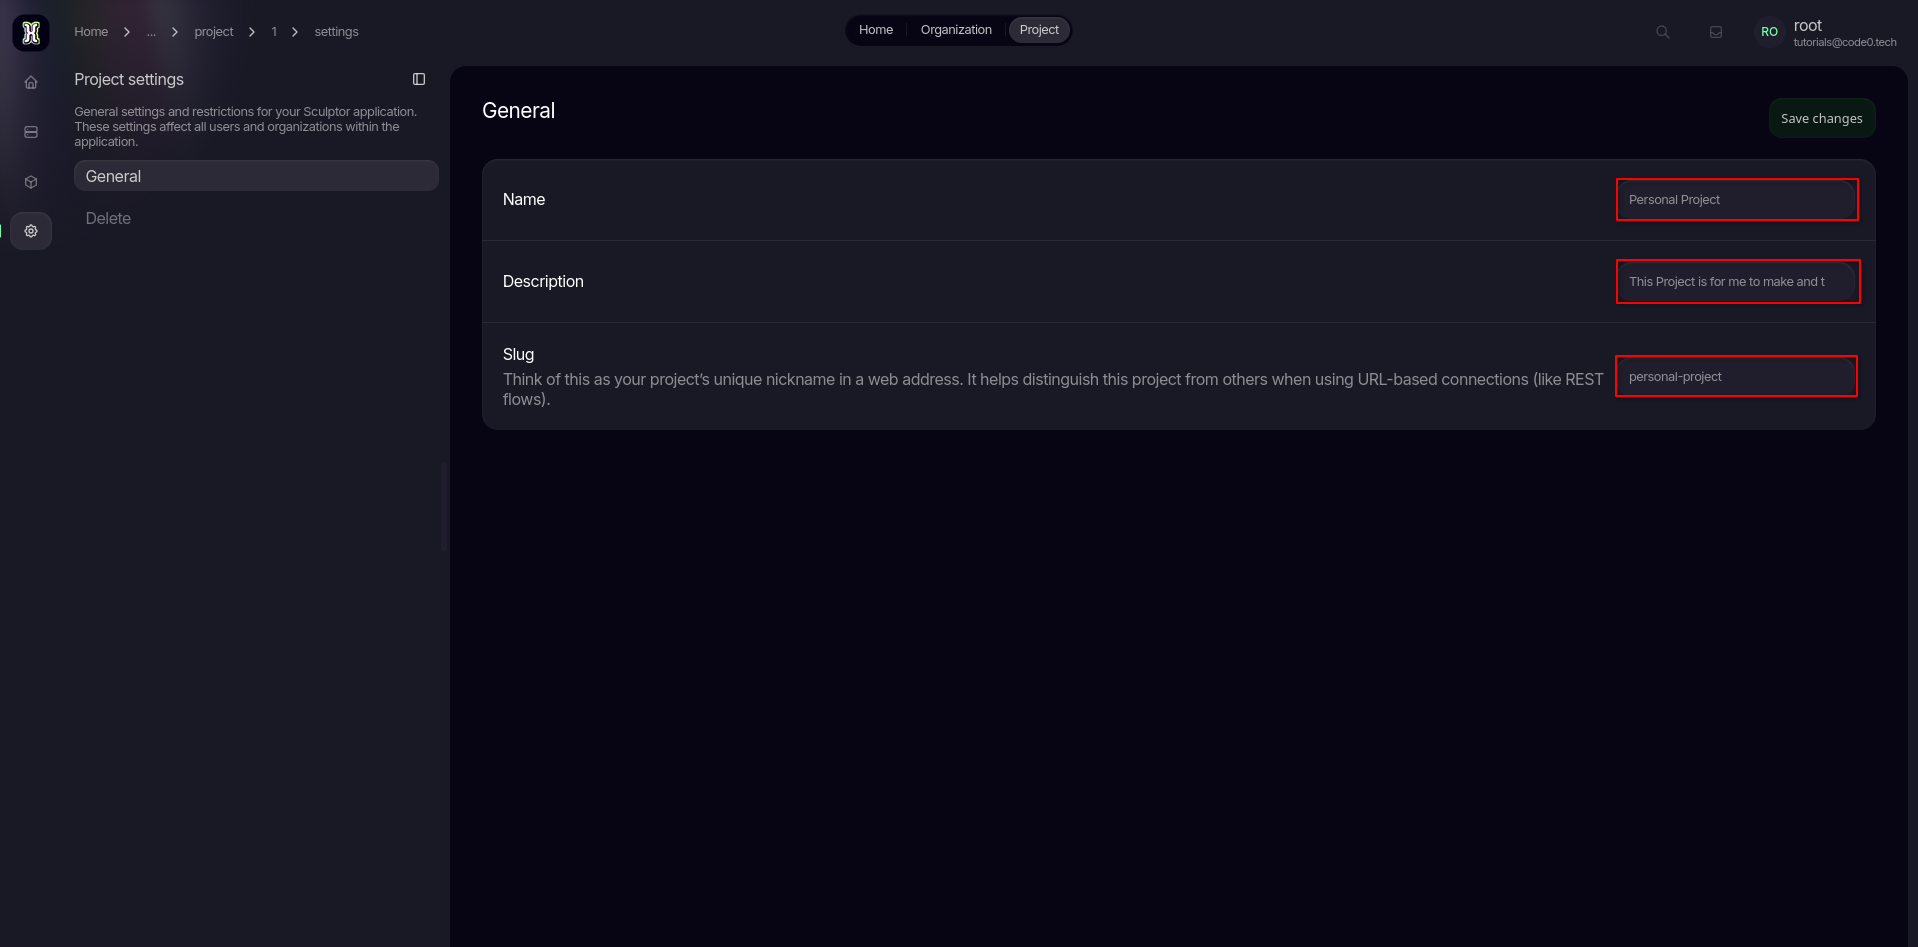
💡 Understanding the routing structure: This project slug directly determines the base web route for every automation you build inside this project. Your final live endpoint URLs will follow this structural format:
http://localhost:<DRACO_REST_PORT>/<your-new-slug>/<flow-path>
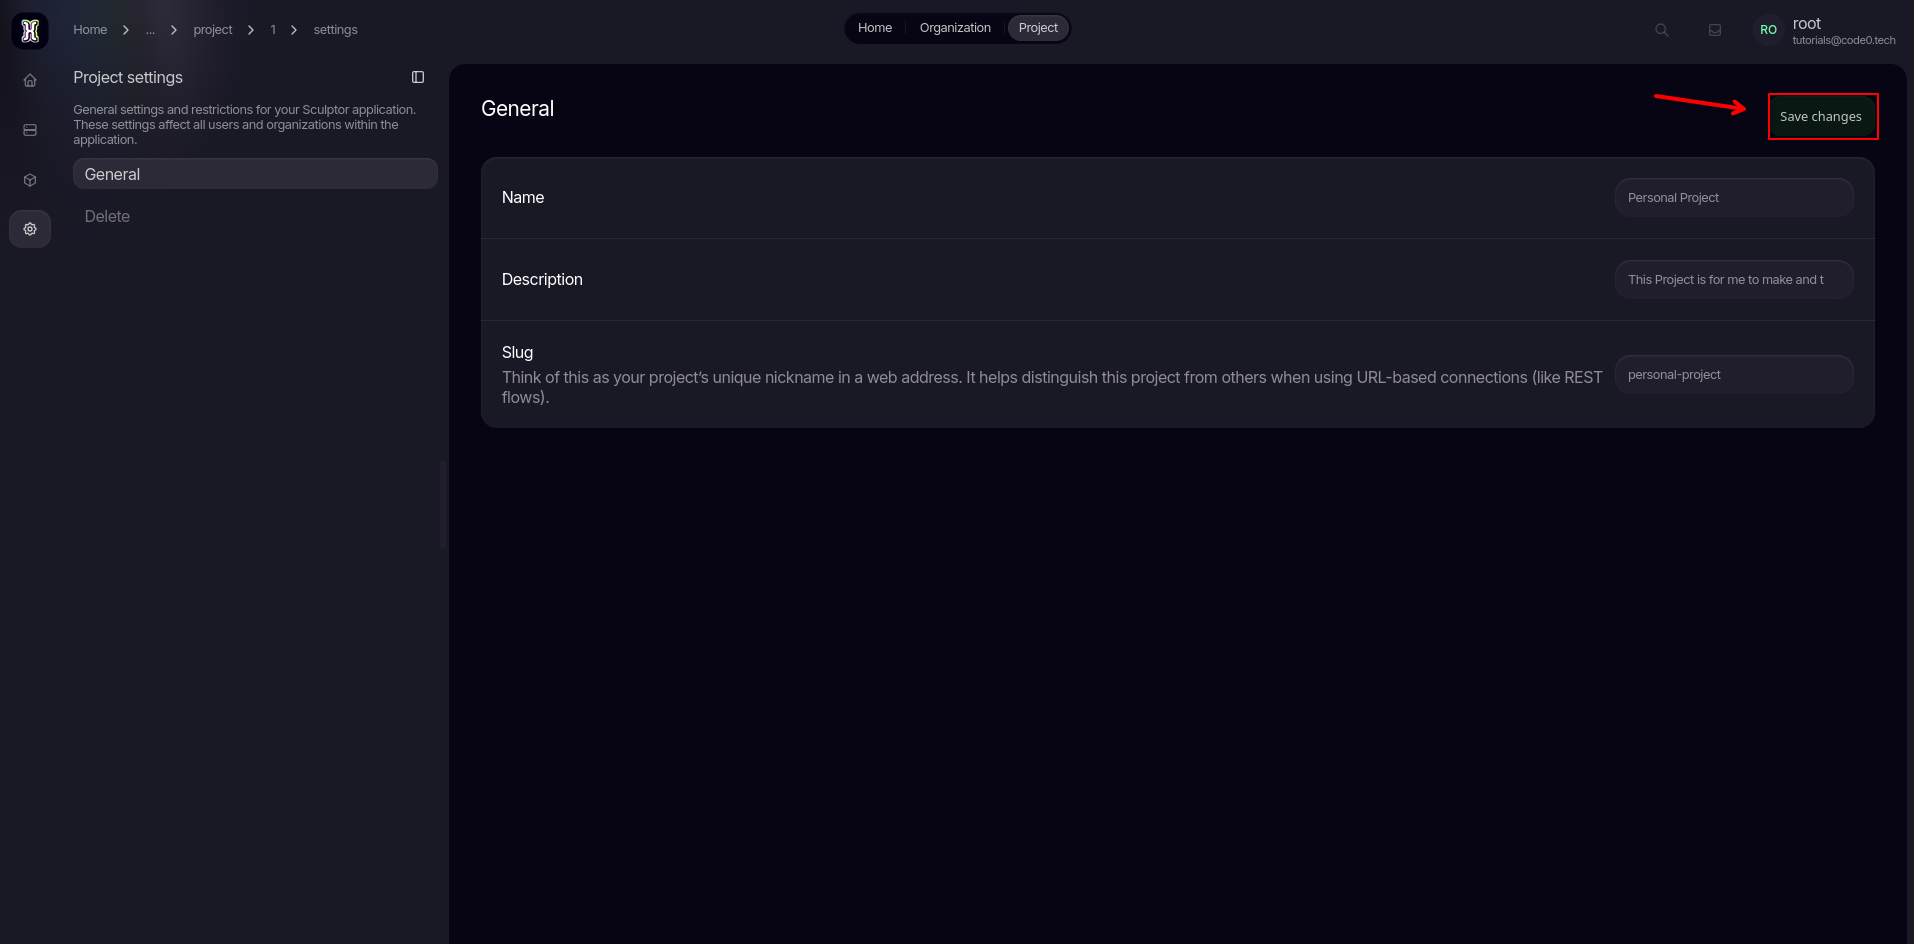
Once you are satisfied with your route and configuration tweaks, click the Save Settings button to apply the changes.
Enter the flow workspace
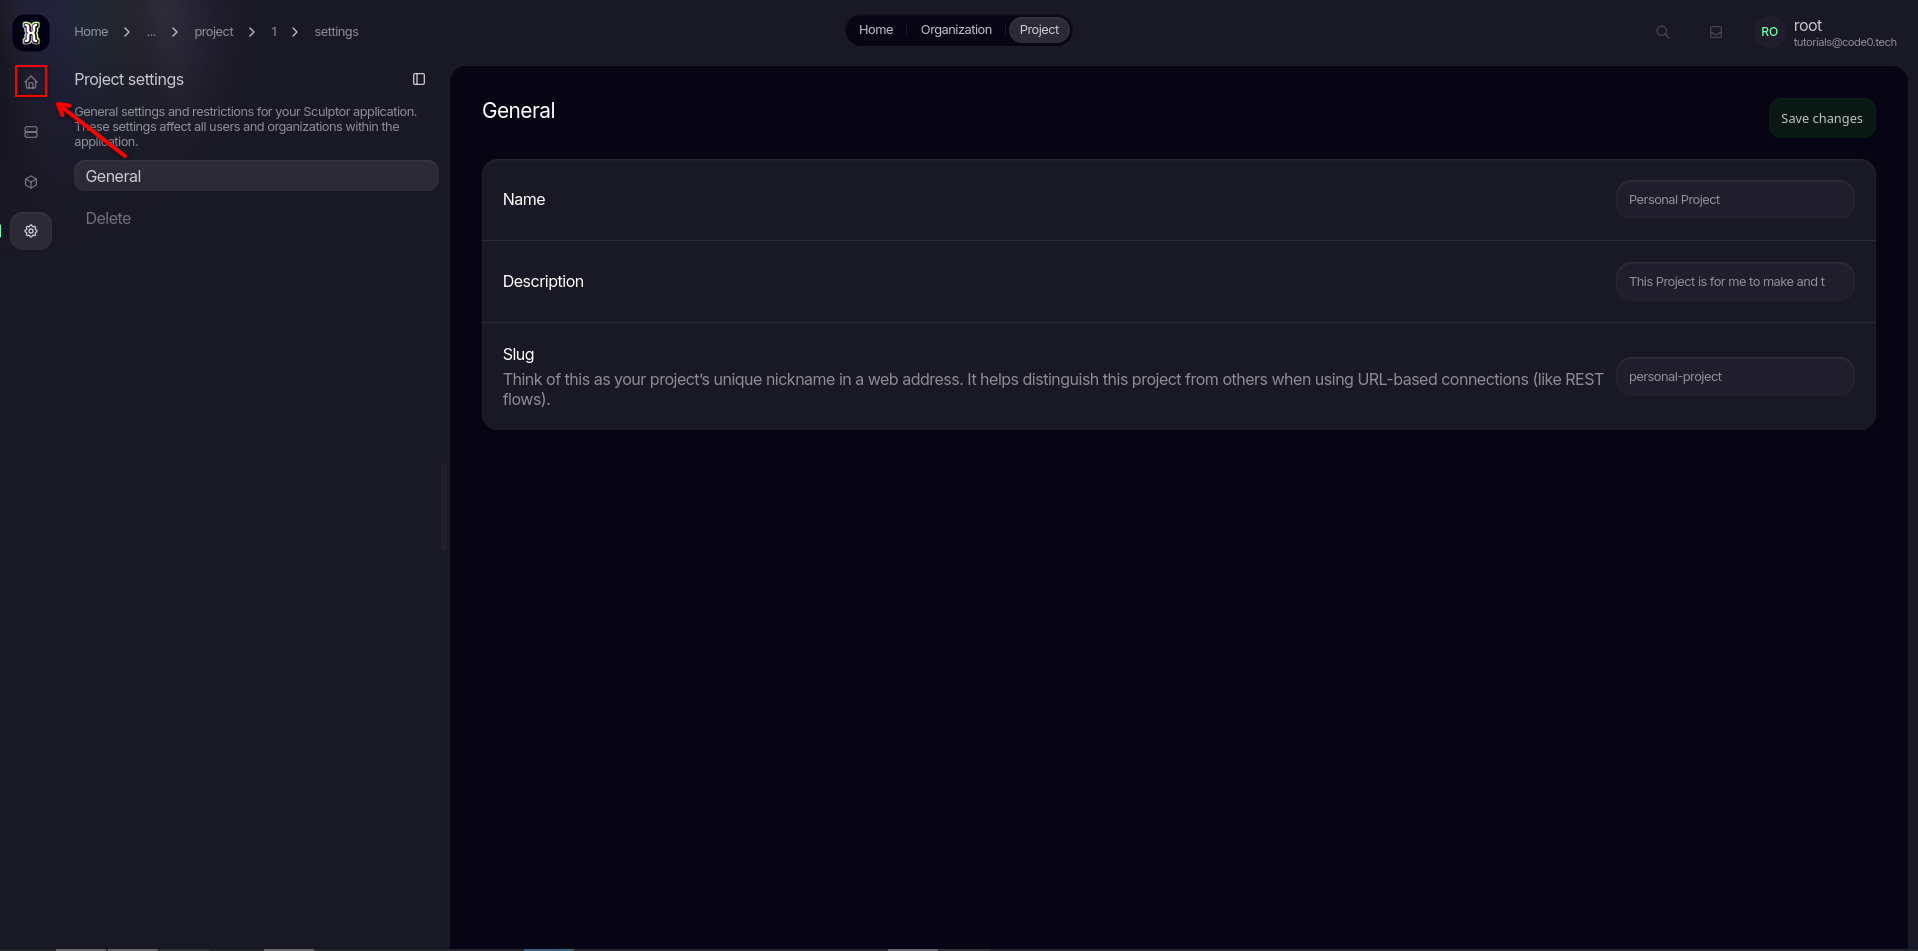
With your base settings locked in, click on the Flows tab to return to your project's main automation interface.
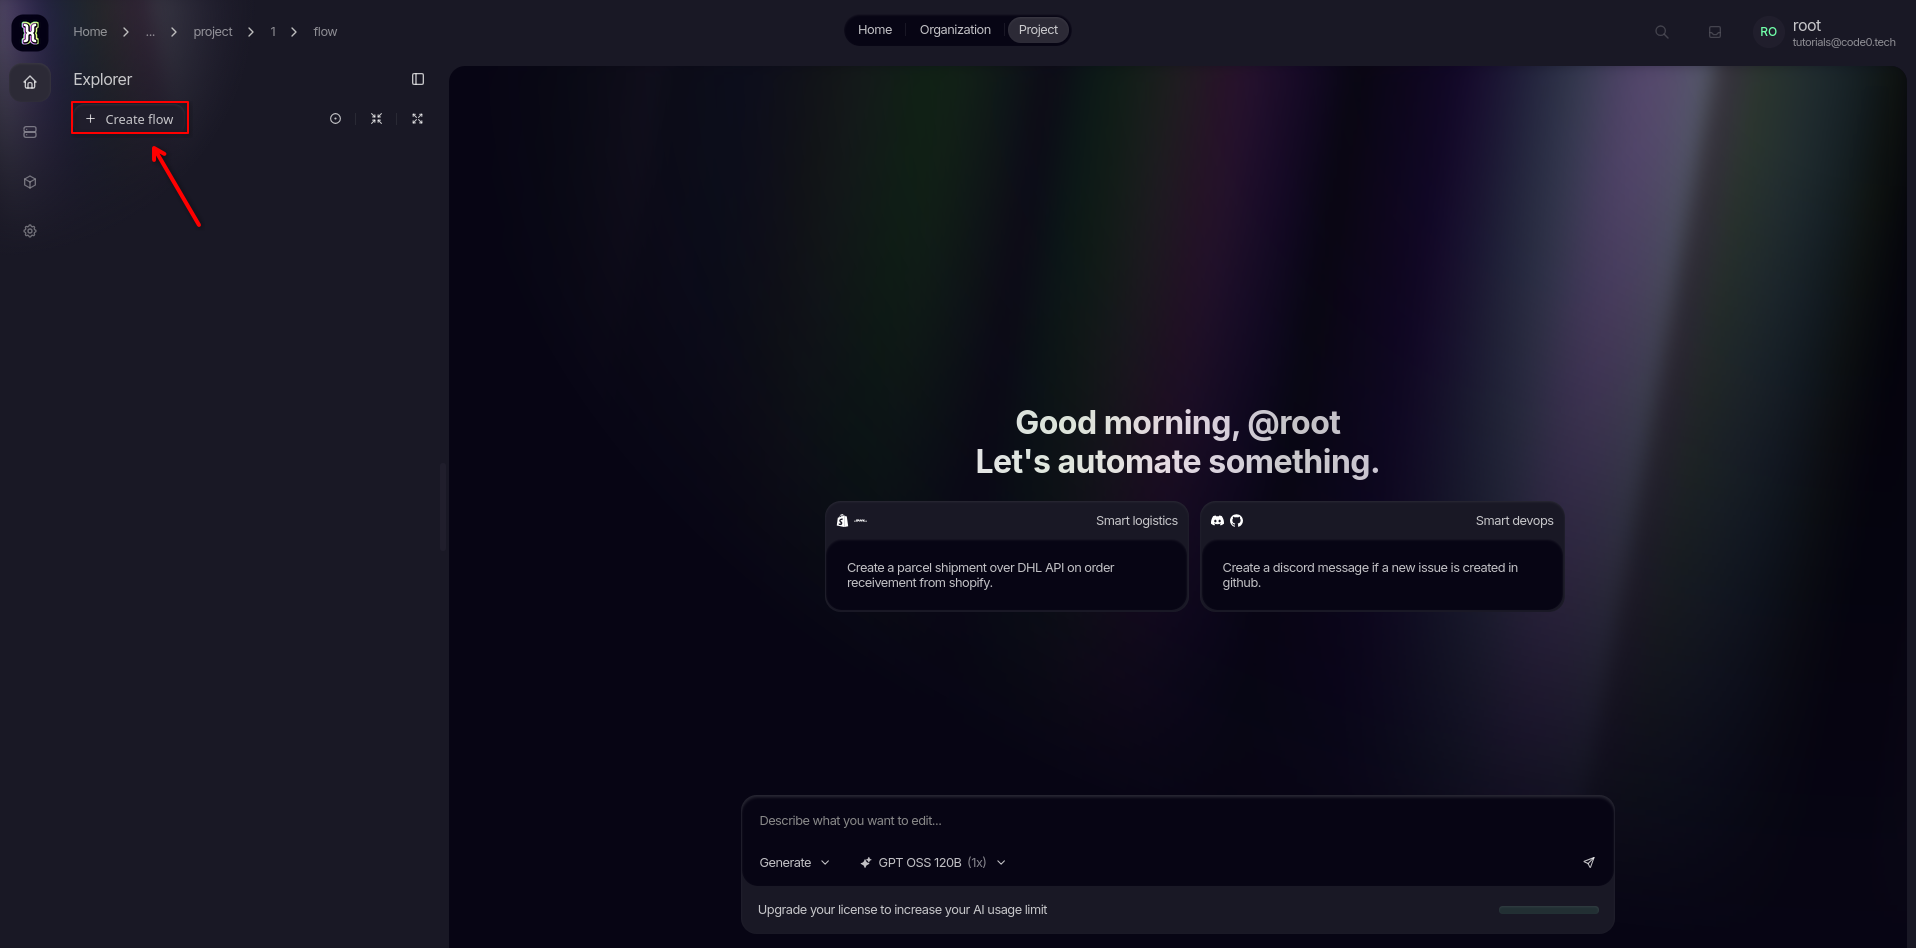
Welcome to your empty canvas! You are now fully configured and ready to start linking nodes together to build your first live automation flow. 🎉
Ready for action?
Now that your runtime is wired up and your base slug is configured, you have the perfect foundation built. Head over to our Creating your first flow tutorial to build out your first functional REST endpoint.